Building the Perfect Self-Setting Clock: A Tech Journey
Frustrated with traditional clocks that require constant setting, one tech enthusiast embarks on a journey to create a self-setting clock using modern technology, including 3D printing and coding.
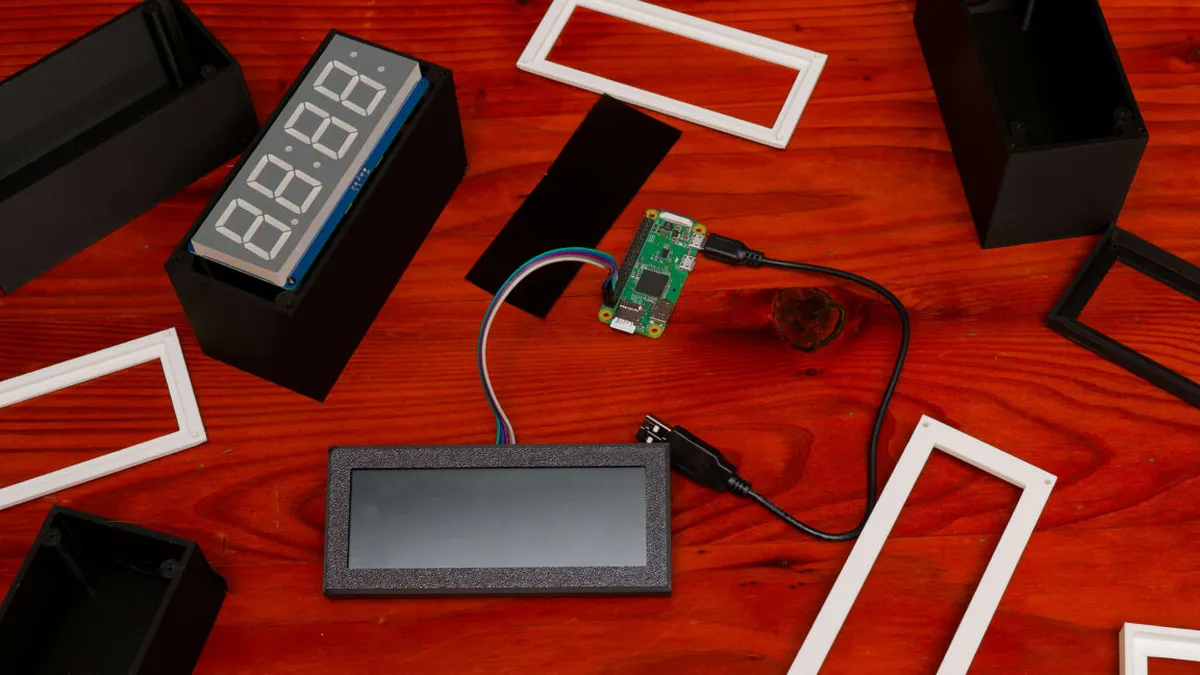
In an age where technology simplifies many aspects of daily life, the humble bedside clock remains a relic of inconvenience. For Lee Hutchinson, a seasoned tech journalist and tinkerer, the frustration of constantly resetting his traditional clock sparked an innovative idea: why not build a clock that never needed setting? What began as a quest for convenience quickly escalated into a full-fledged project that combined 3D printing, programming, and a deep dive into DIY electronics.
Hutchinson’s journey began with the realization that most clocks on the market, while functional, still required manual intervention—especially during the biannual shifts for Daylight Saving Time or after a power outage. His vision for the perfect clock was clear: it would be self-setting, accurate to the sub-second, and aesthetically pleasing with a classic red seven-segment display. Unfortunately, the ideal product simply didn’t exist. Instead of settling for less, Hutchinson decided to take matters into his own hands, leading to an adventurous weekend project that combined his skills and curiosity.
The Quest for the Perfect Clock
The idea of a self-setting clock isn’t entirely new. Atomic clocks, which synchronize with time signals broadcast from atomic clocks around the world, have been available for years. However, these clocks often lack the desired design elements, such as the nostalgic red display Hutchinson craved. His frustration reached a peak during a power flicker when he found himself repeatedly pressing buttons to reset his current clock. This incident prompted him to think outside the box: why not create a clock that could set itself?
With a 3D printer at his disposal and a background in tech, Hutchinson was ready to turn his idea into reality. The first step was gathering the necessary components:
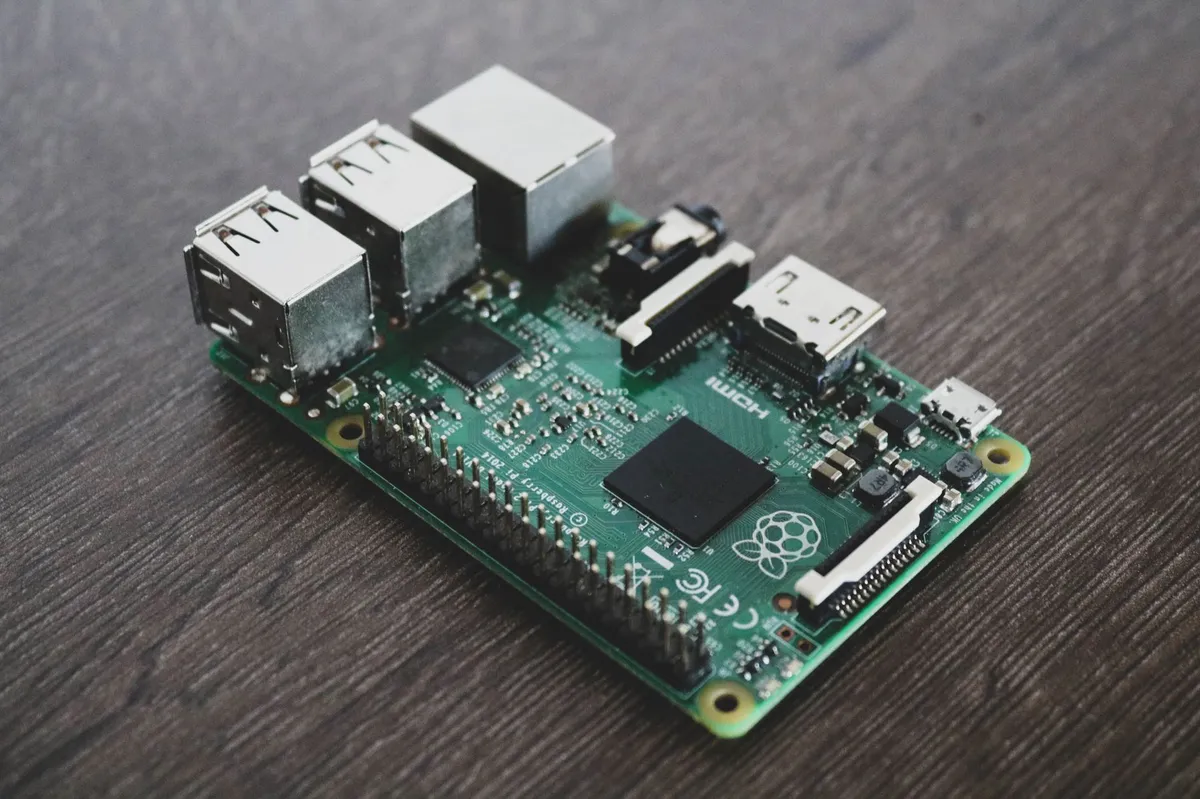
- A Raspberry Pi (either a Zero W or Zero 2 W)
- A seven-segment display from Adafruit
- Basic electronics tools, including a soldering kit
- 3D printing materials for the clock enclosure

The Building Blocks: Hardware and Software
Choosing the Raspberry Pi as the core of the clock provided Hutchinson with several advantages. The Pi runs a Debian-based operating system, which allows for easy installation of software and remote management capabilities. Additionally, it supports Wi-Fi connectivity and Network Time Protocol (NTP), ensuring that the clock could automatically sync its time without manual input.
Once the hardware components were gathered, Hutchinson tackled the programming side of the project. He outlined specific software requirements for his clock:
- The clock should operate solely on a local area network (LAN).
- It must access updates from a local apt mirror and sync time from a LAN NTP server.
- It should feature a systemd service that runs under a non-privileged account for security.
- The display should have a scheduled on/off function and adjustable brightness.
- Integration with HomeKit was essential for ease of use.
From Frustration to Innovation: The Coding Challenge
While many of Hutchinson’s requirements fell within his expertise, he quickly realized that he was venturing into unfamiliar territory, especially concerning how to communicate with the seven-segment display via I2C protocol. Faced with the daunting task of coding, Hutchinson turned to a language model (LLM) for assistance. This decision marked a significant turning point in his project.
Utilizing the capabilities of the LLM, Hutchinson was able to generate the necessary Python scripts to control the display, manage system services, and integrate with HomeKit. While some purists may frown upon using AI for coding tasks, Hutchinson found that it was the only way to overcome the obstacles he faced. The LLM provided clear, well-commented code that made it easier for him to implement the various functions of the clock.
Designing the Clock Enclosure
With the electronics and software in place, the final hurdle was designing a suitable enclosure for the clock. Hutchinson initially found a Creative Commons-licensed 3D model that was compatible with his seven-segment display. However, modifications were necessary to achieve the desired aesthetic. This step proved challenging, as he navigated the complexities of Autodesk Fusion, a software known for its steep learning curve.
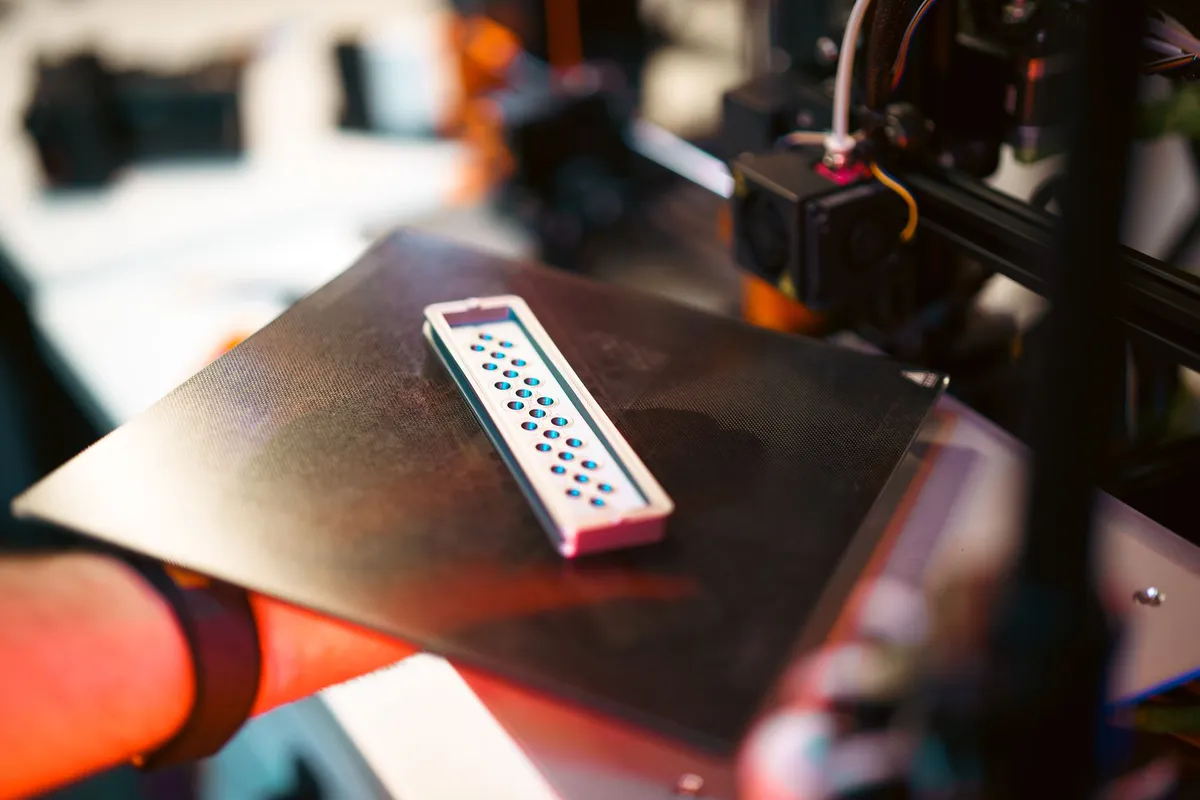
After struggling with the modeling software, Hutchinson discovered that Autodesk Fusion had integrated a new feature allowing LLMs to assist with design modifications. This revelation inspired him to try a different approach, letting the LLM handle the tedious aspects of the design process. The result was a 3D-printed clock enclosure that not only housed the components securely but also matched Hutchinson's vision.
Bringing It All Together: The Final Product
After countless hours of tinkering, coding, and printing, Hutchinson finally had his self-setting clock. The assembled project was not only functional but also aesthetically pleasing, with the bright red seven-segment display shining proudly. The clock now automatically synchronizes with the NTP server, adjusts for Daylight Saving Time, and can be controlled via HomeKit.
This project has been more than just a quest for a better clock; it has highlighted the intersection of DIY electronics, programming, and modern design. Hutchinson's experience serves as a reminder that the tools available today—like 3D printing and AI—can empower individuals to create innovative solutions to everyday problems.
Key Takeaways
- Creating a self-setting clock combines hardware, software, and design skills.
- Utilizing modern tools like 3D printing and AI can simplify complex projects.
- Open-source communities provide valuable resources for DIY electronics enthusiasts.
- Frustration with conventional products can lead to innovative solutions.
Frequently Asked Questions
What are the benefits of using a Raspberry Pi for DIY projects?
The Raspberry Pi is an affordable, versatile microcomputer that facilitates programming and connectivity. It supports various operating systems, making it compatible with numerous software applications. Additionally, its GPIO (General Purpose Input/Output) pins allow users to interface with other hardware components easily, making it a popular choice for DIY electronics projects.
How can I integrate my DIY clock with smart home systems?
To integrate a DIY clock with smart home systems, you can use protocols like HomeKit or MQTT. By using a microcontroller like the Raspberry Pi, you can write code that communicates with the smart home platform, allowing you to control the clock through voice commands or mobile apps. This integration enhances the clock's functionality and convenience.
What challenges might I face when 3D printing my clock enclosure?
Challenges in 3D printing can include issues with model compatibility, print quality, and material selection. Ensuring the design fits the electronic components, achieving the desired aesthetics, and troubleshooting errors during the printing process are common hurdles. It's essential to test the design with prototypes and adjust parameters for optimal results.
Comments
Popular in Developer Tools
- Why Greylock Partners Caps Fund Size in a Growing Industry
- Roblox Unleashes AI-Powered Game Creation for Mobile Users
- DeepSeek Launches Open Source Alternative to Claude Code, Ups API Pricing
- Cursor Launches Origin: A New Challenger to GitHub's Dominance
- Apple's Camera-Equipped AirPods: Innovation or Invasion?